Integrating Agno with MLflow
MLflow provides built-in GenAI tracing so you can capture, explore, and analyze LLM and agent traces. Agno integrates directly with MLflow via a single call tomlflow.agno.autolog().
Prerequisites
-
Install Dependencies
Ensure the required packages are installed:
-
Start the MLflow tracking server
Start the MLflow tracking server to view traces as you run your code:
To host an MLflow server, see the MLflow documentation.
Set Environment Variables
Set the environment variables for the MLflow server URL and experiment name:mlflow.agno.autolog().
Enable Automatic Tracing in Your Code
Callmlflow.agno.autolog() once at startup, then use your Agno agent as usual. MLflow will automatically record traces of model/tool calls and agent steps.
View Traces
Access the MLflow UI to view the traces. If you started the UI locally, openhttp://127.0.0.1:5000 in your browser. If you are using a managed MLflow server, you can access the UI at the URL provided by the cloud provider.
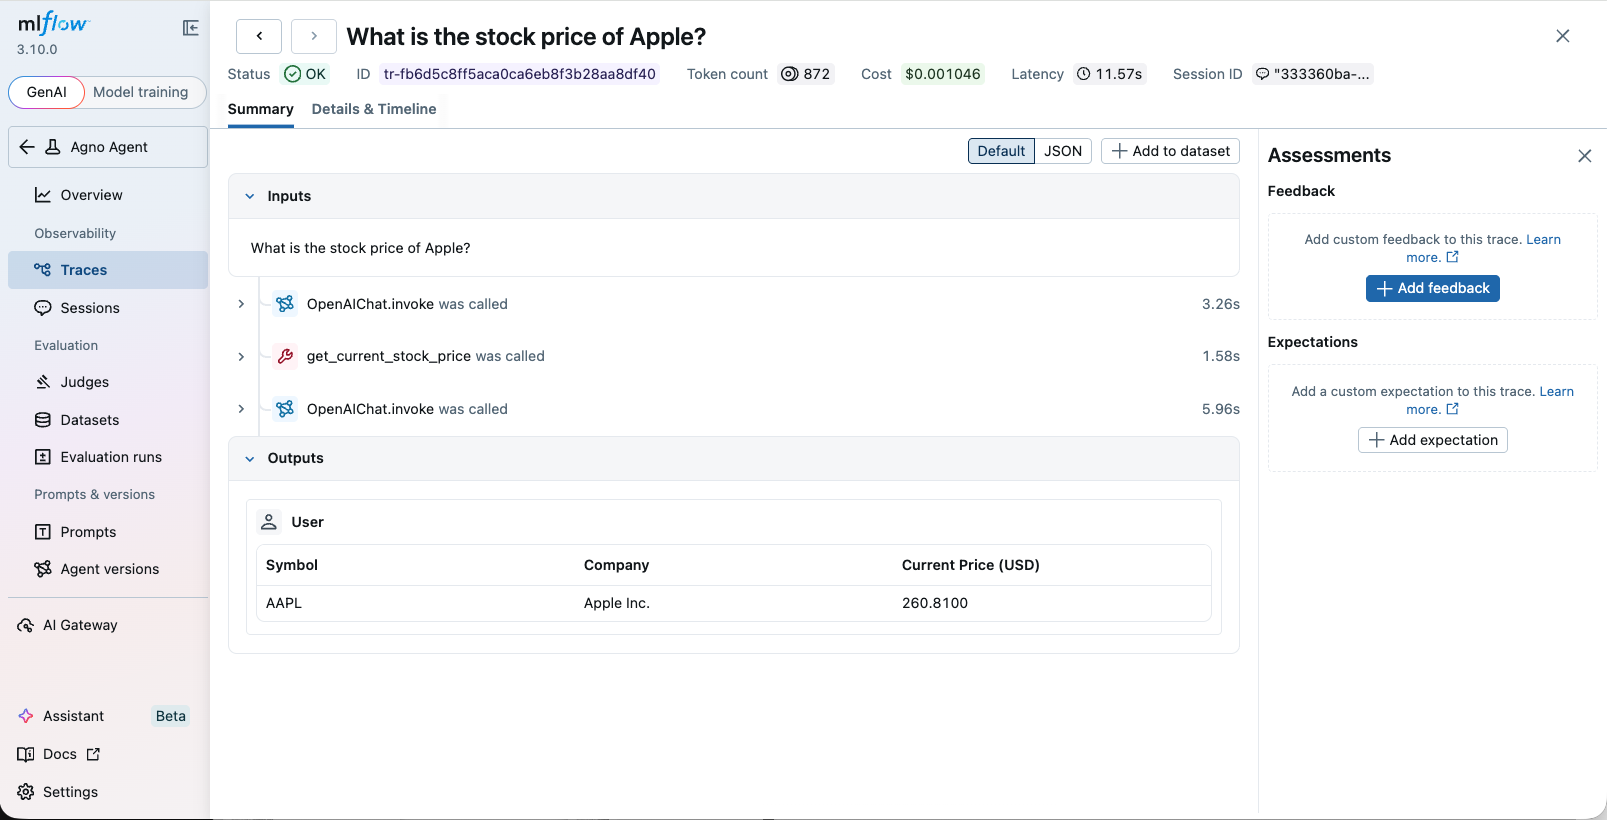
MLflow Traces
AgentOS example
You can instrument your AgentOS application with MLflow by using the same approach as above. Simply callmlflow.agno.autolog() before creating your AgentOS instance.
This example needs additional dependencies:
agno_assist.py
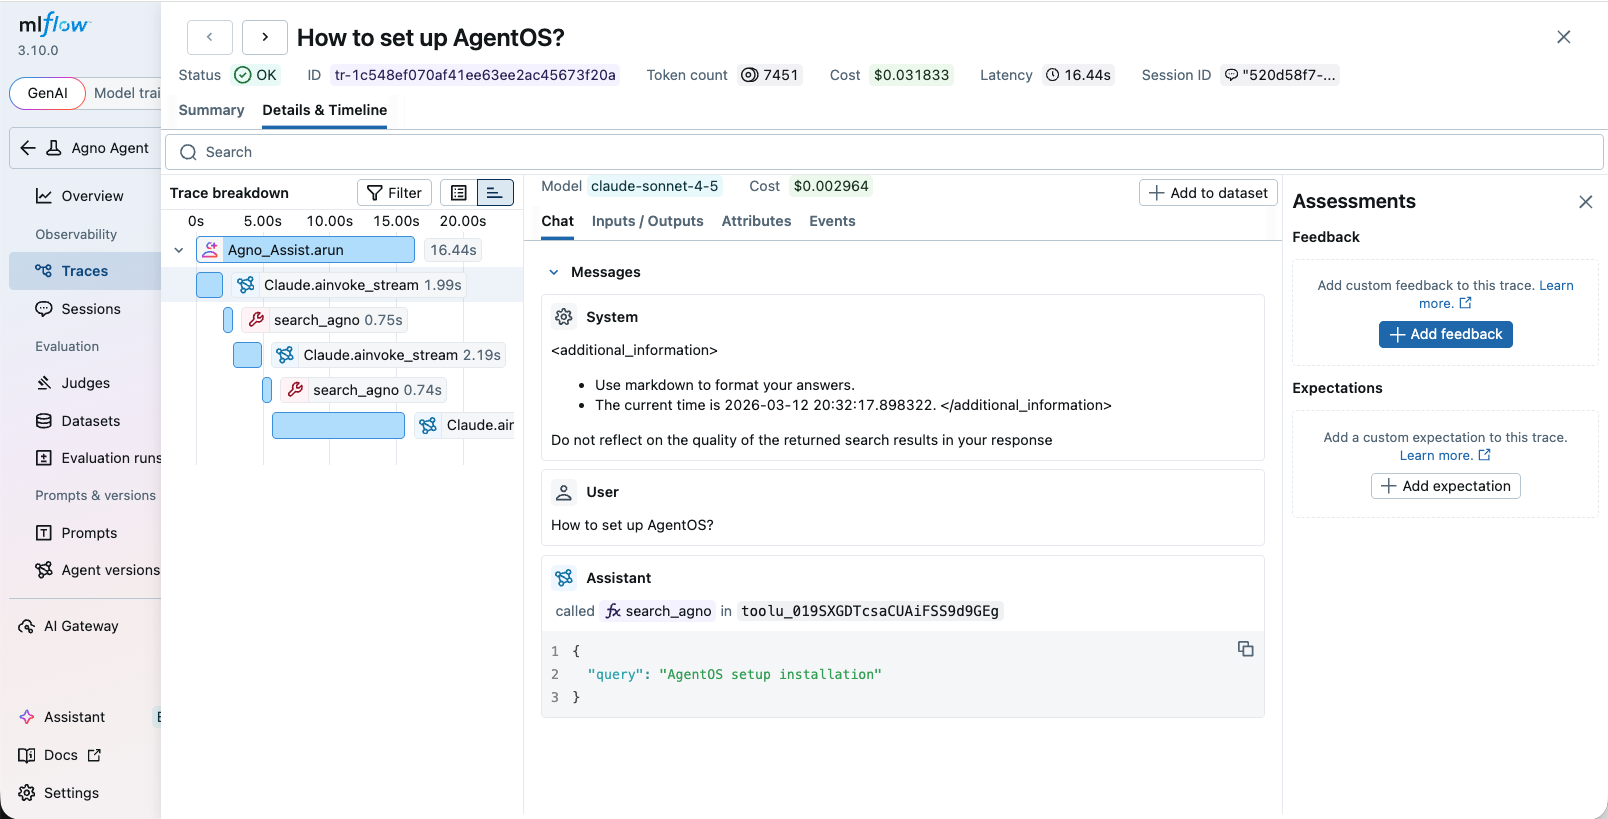
MLflow Traces
Notes
- Ensure your model provider credentials (for example,
OPENAI_API_KEY) are set in the environment. - Requires
mlflow>=3.3for the Agno autolog integration.