Take your agent to production
Deploy your personal agent to Railway.
Let's deploy the agent we built in the previous page to Railway. We'll give it a stable HTTPS endpoint, use Postgres for storage, and keep using the same Slack app.
We'll need a Railway account, the $5 hobby plan should work fine, but I recommend the $20 pro plan.
Prepare your agent
Let's start by updating the agent to use Postgres for storage and support production authorization.
Update personal_agent.py to:
from os import environ, getenv

from agno.agent import Agent
from agno.db.postgres import PostgresDb, create_postgres_engine
from agno.db.sqlite import SqliteDb
from agno.fs import FileSystem
from agno.os import AgentOS
from agno.os.interfaces.slack import Slack

if database_url := getenv("DATABASE_URL"):
    db = PostgresDb(
        db_engine=create_postgres_engine(database_url),
    )
else:
    db = SqliteDb(db_file="personal_agent.db")

fs = FileSystem(db, namespace="personal-agent/{user_id}")

agent_instructions = """You are Pip, the user's personal agent.
Help them keep track of their projects, tasks, decisions, and useful notes
so they can pick up where they left off.

Be warm, direct, and practical. Use natural language and keep replies brief.
When the user asks for an update, lead with what needs their attention
and the next useful step. Acknowledge progress without making a big deal of it.
Adapt to how the user likes to work and communicate.

Keep project briefs, tasks, decisions, and useful notes in your filesystem.
Start with a simple structure, group related information together, and split
files by project or topic when that makes them easier to maintain.
Follow any organization the user requests.

Track task completion and due dates when provided. Record decisions with
their reasoning so the user can revisit them later. Keep the user's stated
commitments separate from your suggestions.

Read the relevant files before answering questions about saved information
or making changes. Create new files as needed. Preserve unrelated entries
when updating existing files. Ask when a missing detail matters; otherwise,
work with what you have.

Only say something is saved or updated after the file tool succeeds.
Confirm what changed in a sentence or two.
"""

agent = Agent(
    name="Pip",
    model="openai:gpt-5.6",
    db=db,
    tools=[fs.tools()],
    instructions=[agent_instructions, fs.instructions()],
    add_history_to_context=True,
    add_datetime_to_context=True,
)

agent_os = AgentOS(
    agents=[agent],
    db=db,
    interfaces=[
        Slack(
            agent=agent,
            token=environ["SLACK_TOKEN"],
            signing_secret=environ["SLACK_SIGNING_SECRET"],
            resolve_user_identity=True,
        )
    ],
    authorization=bool(getenv("JWT_VERIFICATION_KEY")),
    tracing=True,
)
app = agent_os.get_app()

if __name__ == "__main__":
    agent_os.serve(app="personal_agent:app", reload=True)
Our personal_agent.py now switches to Postgres when DATABASE_URL is set, and enables JWT authorization when JWT_VERIFICATION_KEY is set. The deployment image will run the server without hot reload.
Add deployment specific files
We need a few files to deploy our agent to Railway.
- A
Dockerfileto build the app image. - A
.gitignoreto exclude local data and credentials from Git.
Add the production dependencies
Add Postgres, Pgvector and the cryptography package used to verify JWT signatures:
uv add "agno[os,sqlite,slack,postgres,pgvector]" cryptographyThis updates pyproject.toml and uv.lock.
Keep local data and credentials out of Git
Create .gitignore:
.venv/
__pycache__/
.env
.env.*
*.db
*.db-*
Define the app image
Create Dockerfile in the project root:
FROM agnohq/python:3.14
WORKDIR /app
COPY pyproject.toml uv.lock ./
RUN uv sync --python 3.14 --locked --no-dev --no-install-project
COPY personal_agent.py ./
CMD ["sh", "-c", "exec uv run --no-sync uvicorn personal_agent:app --host 0.0.0.0 --port ${PORT:-8000}"]
Railway detects the Dockerfile automatically. The start command uses Railway's PORT environment variable. For example, if Railway sets PORT=8080, Uvicorn listens on port 8080.
Why Postgres?
The app's container filesystem is ephemeral. Postgres stores the agent's files, sessions, and traces separately, so they survive app restarts and redeployments.
Deploy to Railway
- Create an empty GitHub repository for this project (call it personal-agent).
Then, from your project directory, initialize Git and push the deployment files:
git init
git add .
git commit -m "Init personal agent"
git branch -M main

git remote add origin <your-repository-url>
git push -u origin main-
Open Railway, create a New project and Deploy from GitHub repo. Give it your repository URL and grant access if private. The initial app deployment will need the variables below before it can start.
-
In the same project, choose +Add → Database → PostgreSQL. Wait for the database to be ready. Keep its persistent volume attached.
-
Open the app service's Variables tab and configure:
Variable Value OPENAI_API_KEYYour OpenAI API key SLACK_TOKENThe bot token for your existing Slack app SLACK_SIGNING_SECRETThe signing secret for that Slack app DATABASE_URLA reference to the Postgres service's DATABASE_URLUse Railway's variable reference picker for
DATABASE_URL. For a database service namedPostgres, the reference is${{Postgres.DATABASE_URL}}. This keeps the database credentials in Railway. -
Open the app service's settings, set the Healthcheck Path to
/health. Apply the variable changes and deploy. Keep the app at one replica for this walkthrough. -
Under Networking, generate a public domain. Set its target port to the port shown in the Uvicorn startup log, such as
8080. It must match the app's listening port. -
View the deployment logs and wait for it to be healthy.
-
Copy the service's
https://...up.railway.appURL and open/docson that origin to check the API docs. Check the deployment logs if startup fails.

Connect and authorize the Control Plane
Connect with the generated security key
Open os.agno.com, select +New AgentOS → Live Connection, and enter your Railway URL. Name it Personal Agent and set Token-Based Authorization (JWT) ON.
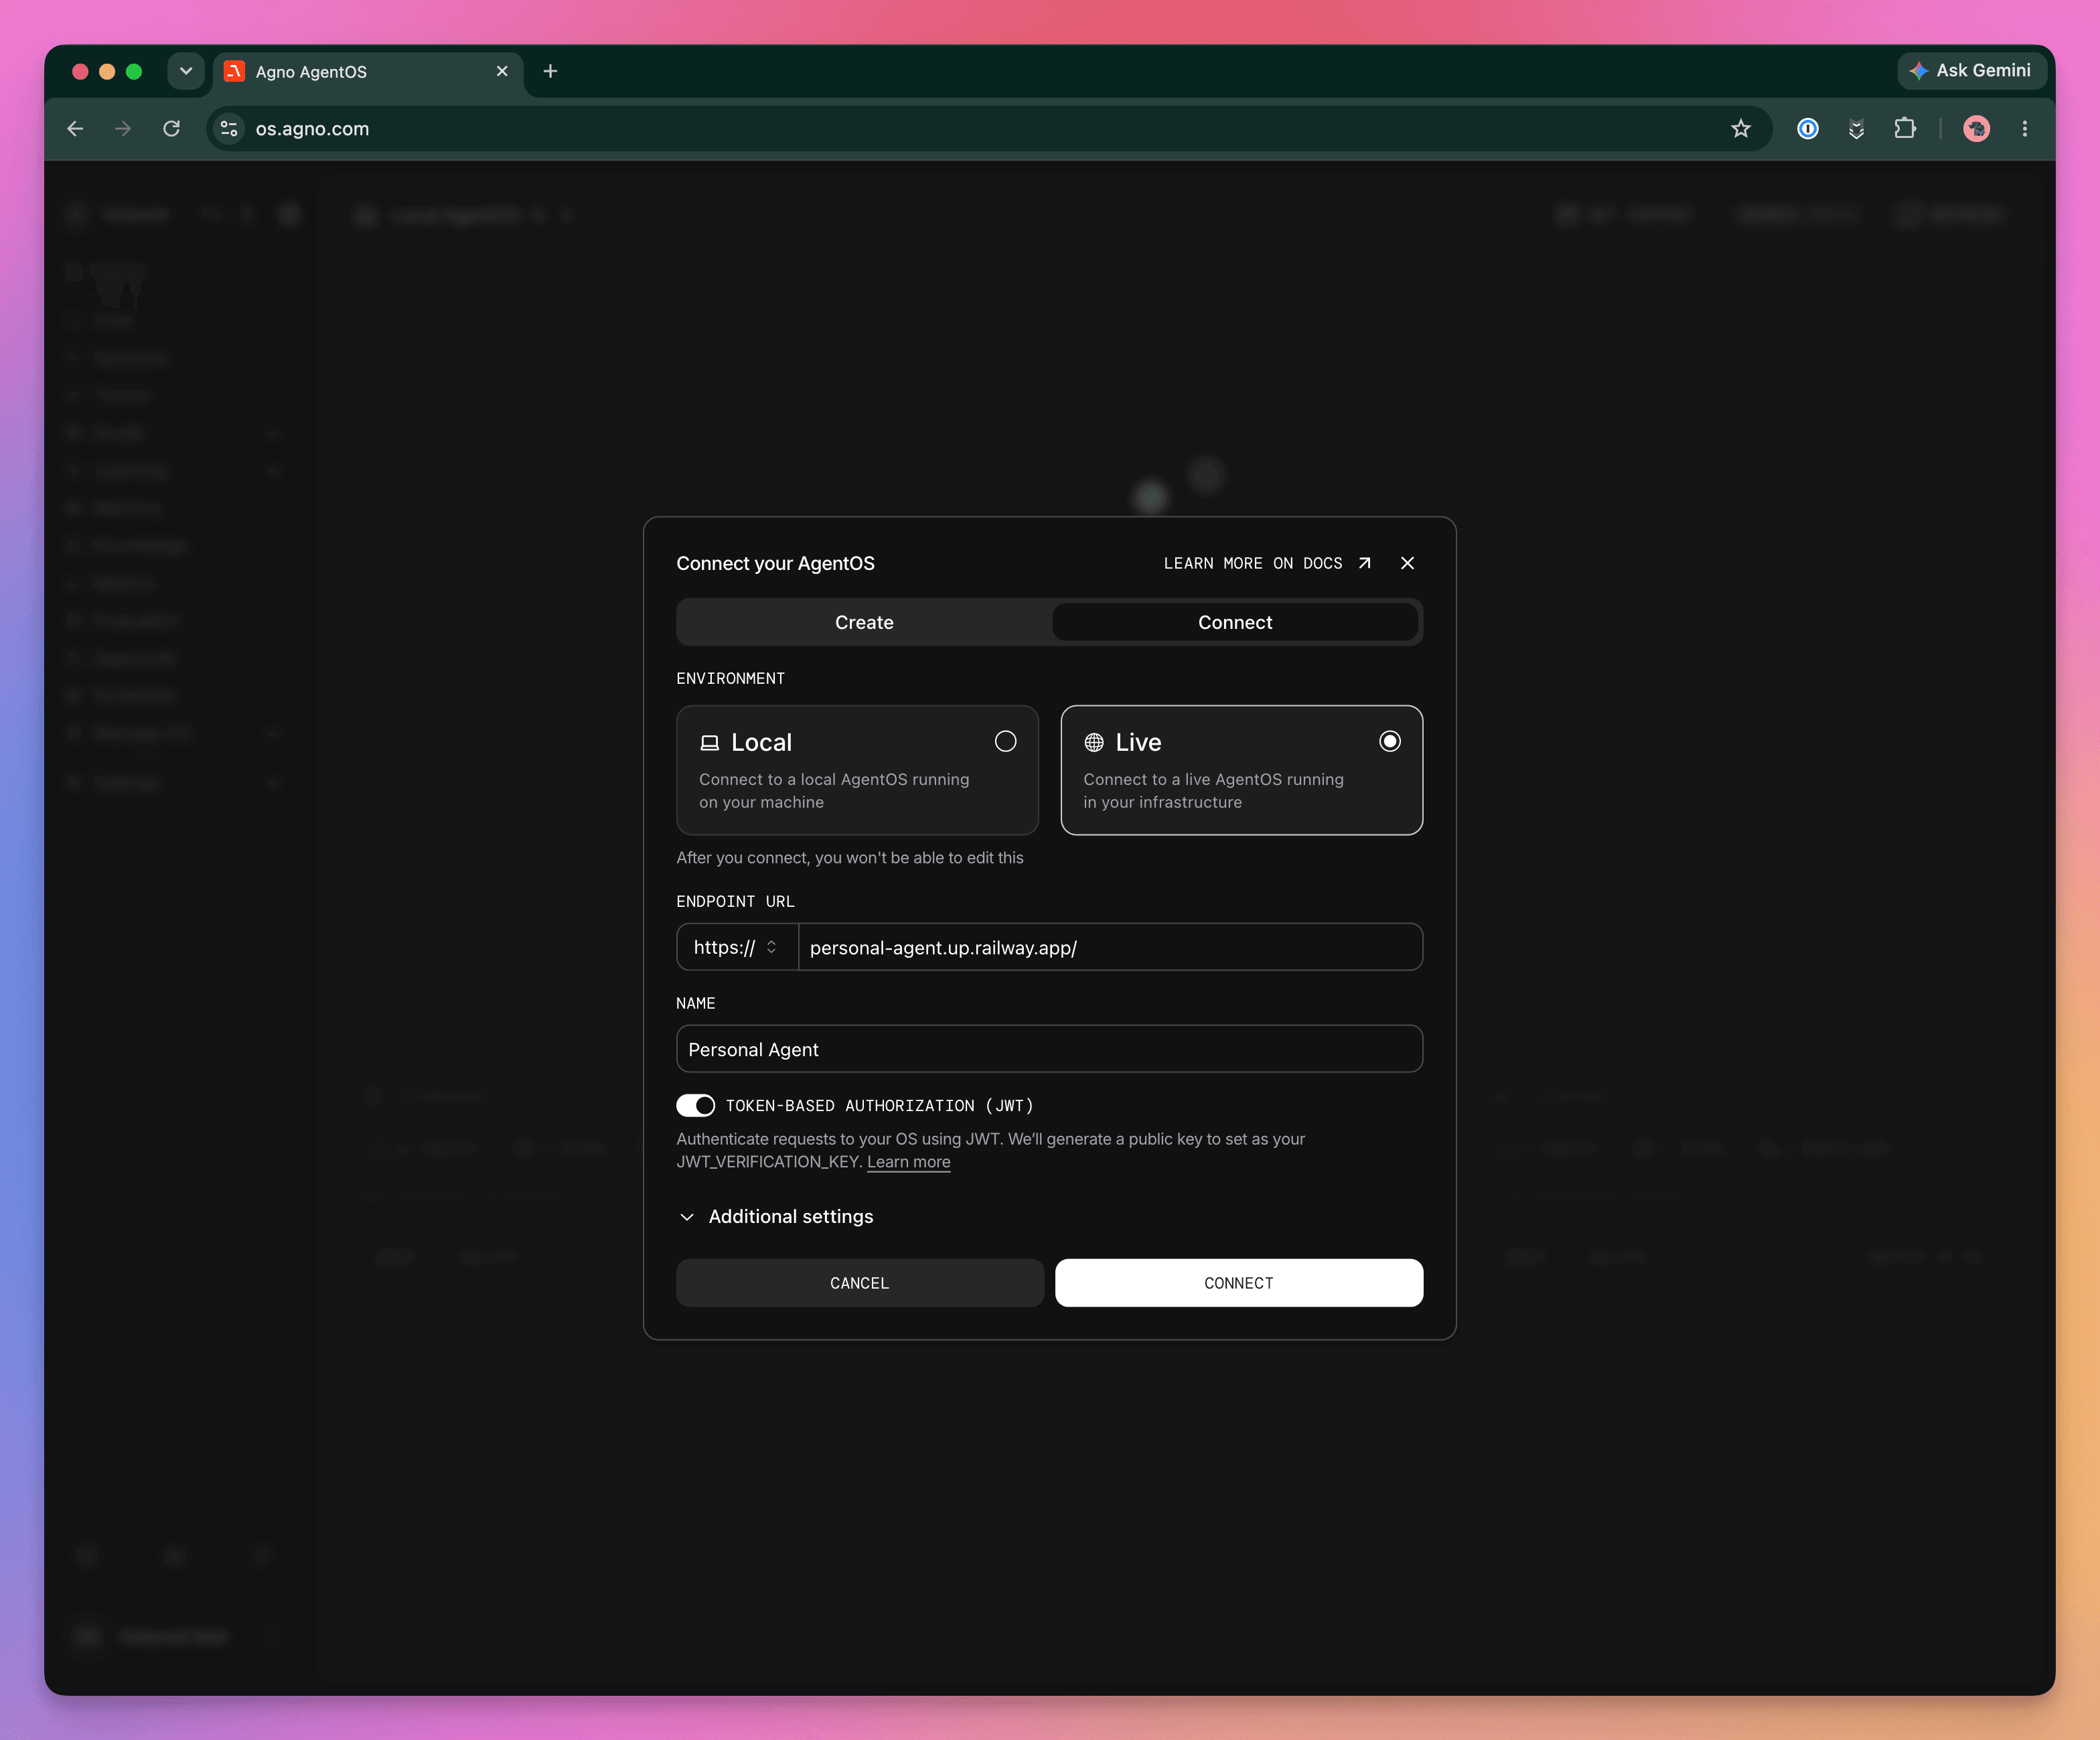
Click Connect and copy the generated public verification key.
Add the JWT verification key to your service
Open your service's Variables tab in Railway, add JWT_VERIFICATION_KEY and paste the complete public key, including the BEGIN PUBLIC KEY and END PUBLIC KEY lines. Save and deploy the change.
Monitor the deployment logs and wait for it to be healthy. You now have JWT authorization enabled.
Switch Slack to your hosted agent
Open your app at Your Apps and update both endpoints:
| Setting | New URL |
|---|---|
| Event Subscriptions → Request URL | https://YOUR-SERVICE.up.railway.app/slack/events |
| Interactivity & Shortcuts → Request URL | https://YOUR-SERVICE.up.railway.app/slack/interactions |
Wait for Slack to verify the events URL and save the changes. Use the actual service URL from Railway.
Stop your local Python server and ngrok. In a new Slack message, ask:
Do i have any open projects?The agent is new, so no projects are listed.
Your agent is now live
After deploying to Railway, your agent is now live. You can use it in Slack and view the sessions, traces and memory in the Control Plane.
Next: Explore more use cases
Congratulations on building your first agent and deploying it to production. Next, explore more use cases by running your agents as an API, an MCP server, or build a full-fledged multi-agent platform.