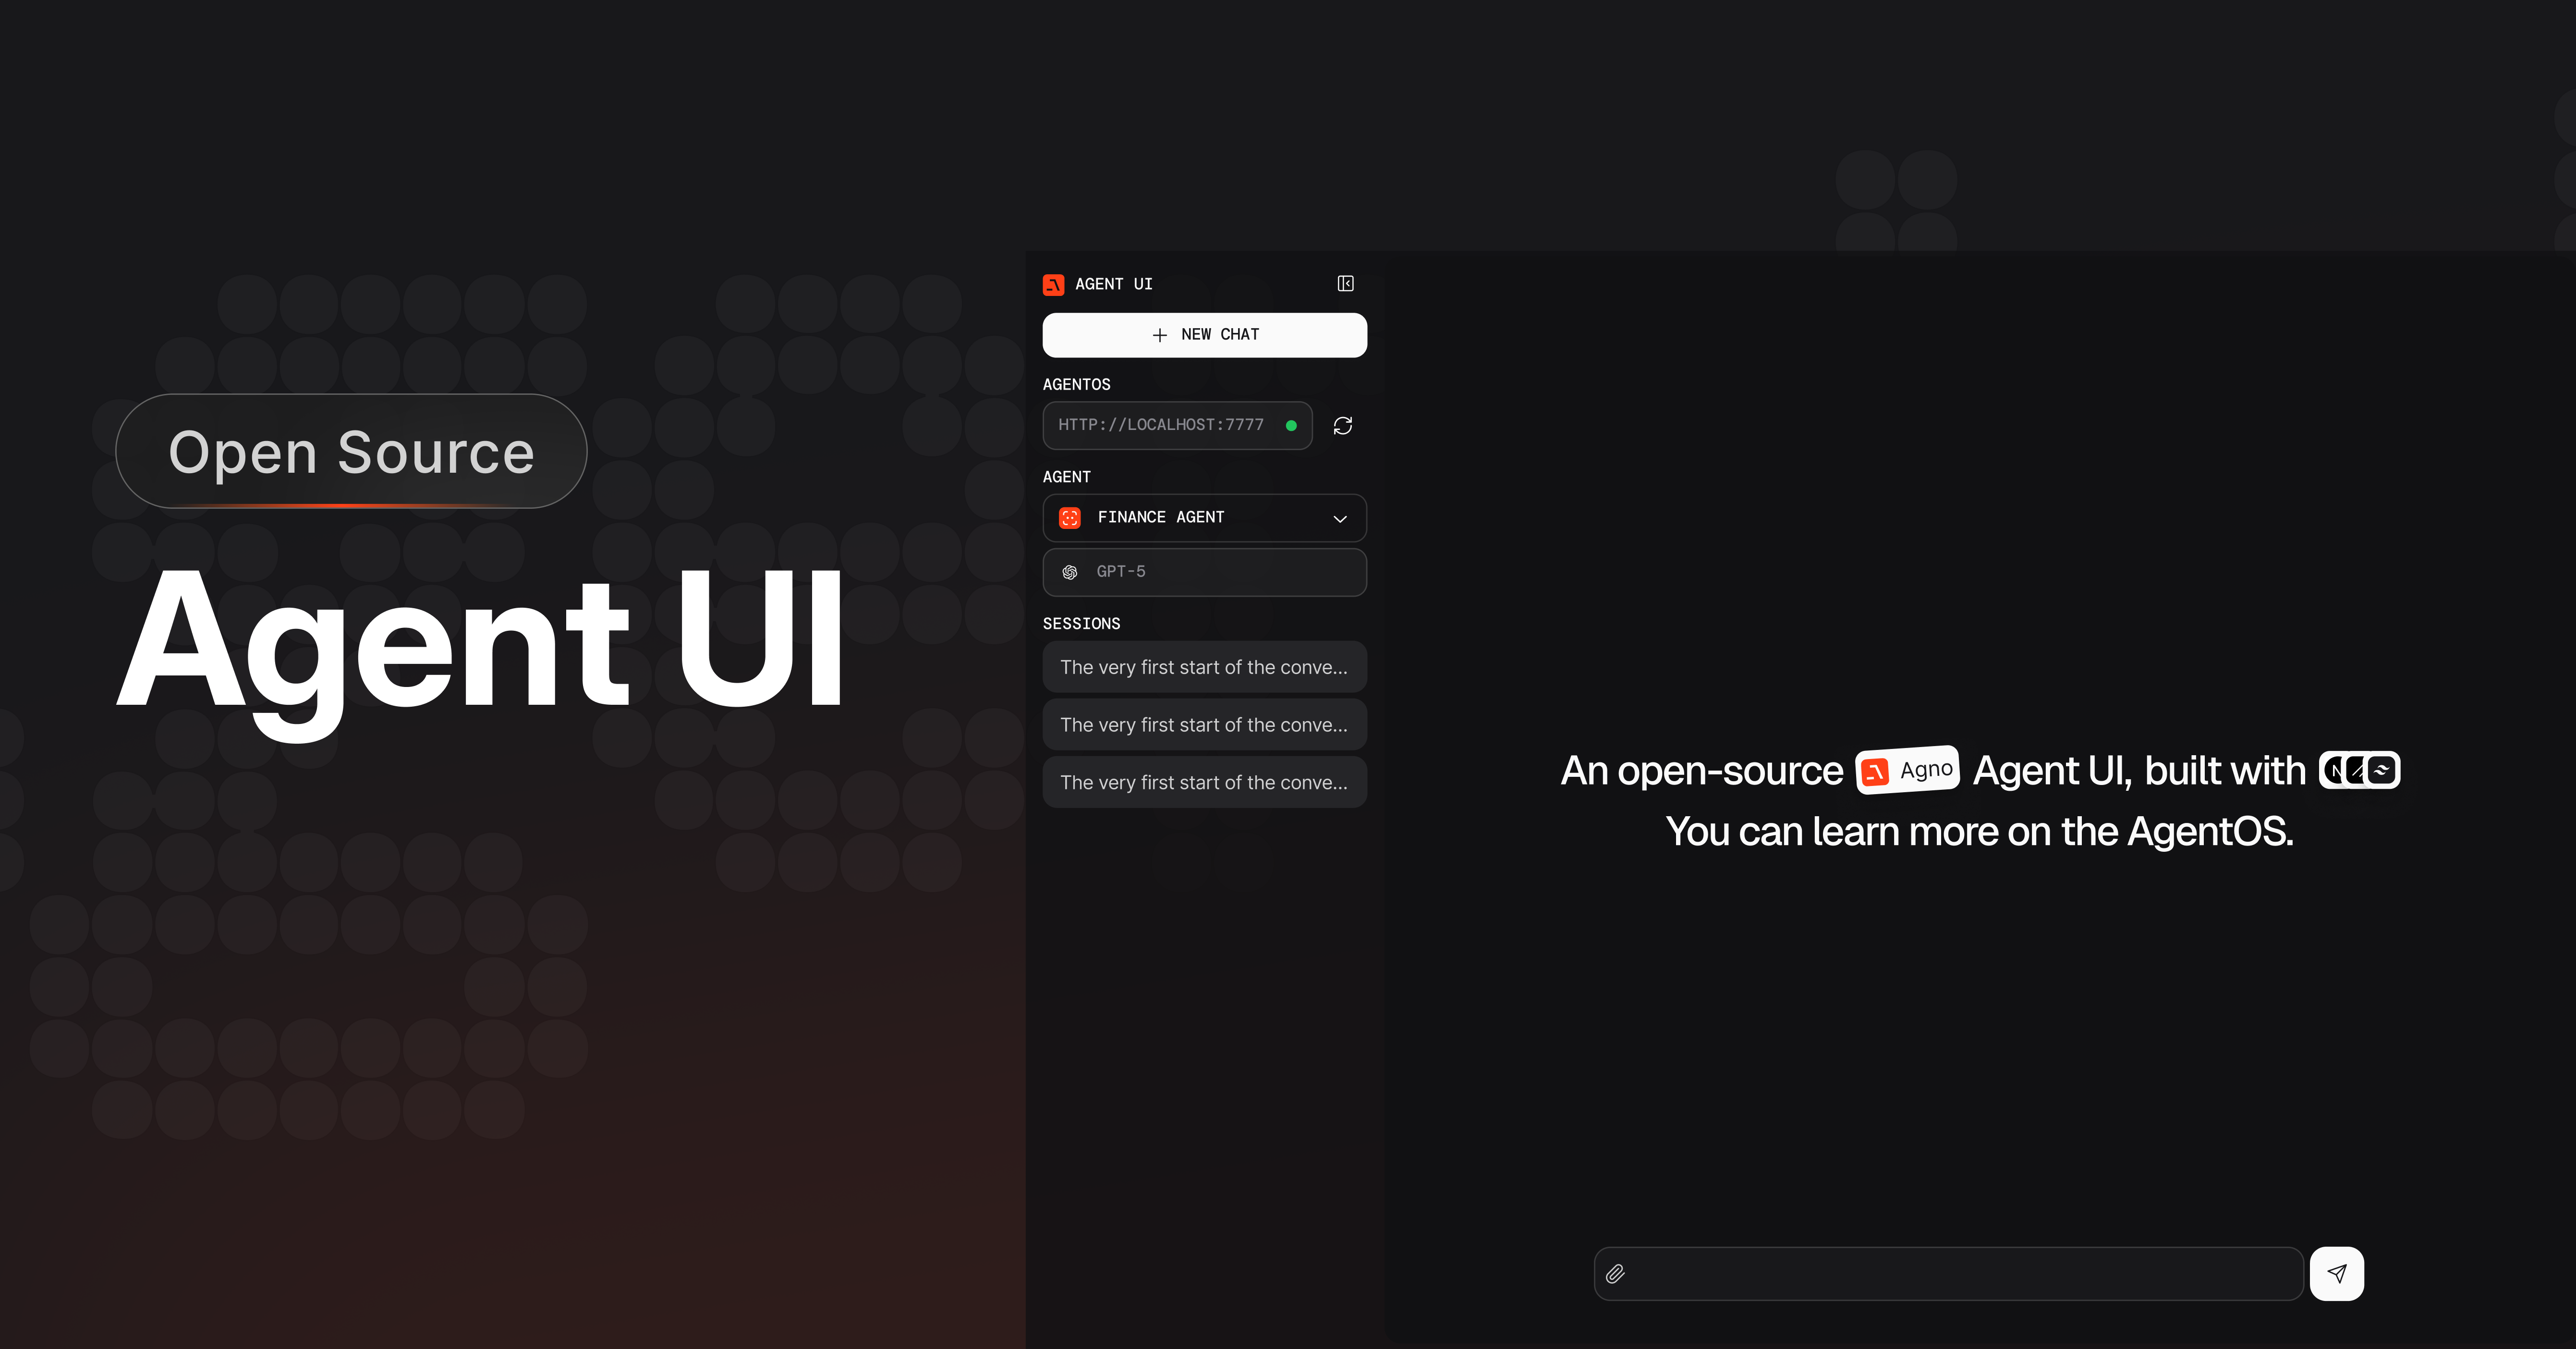
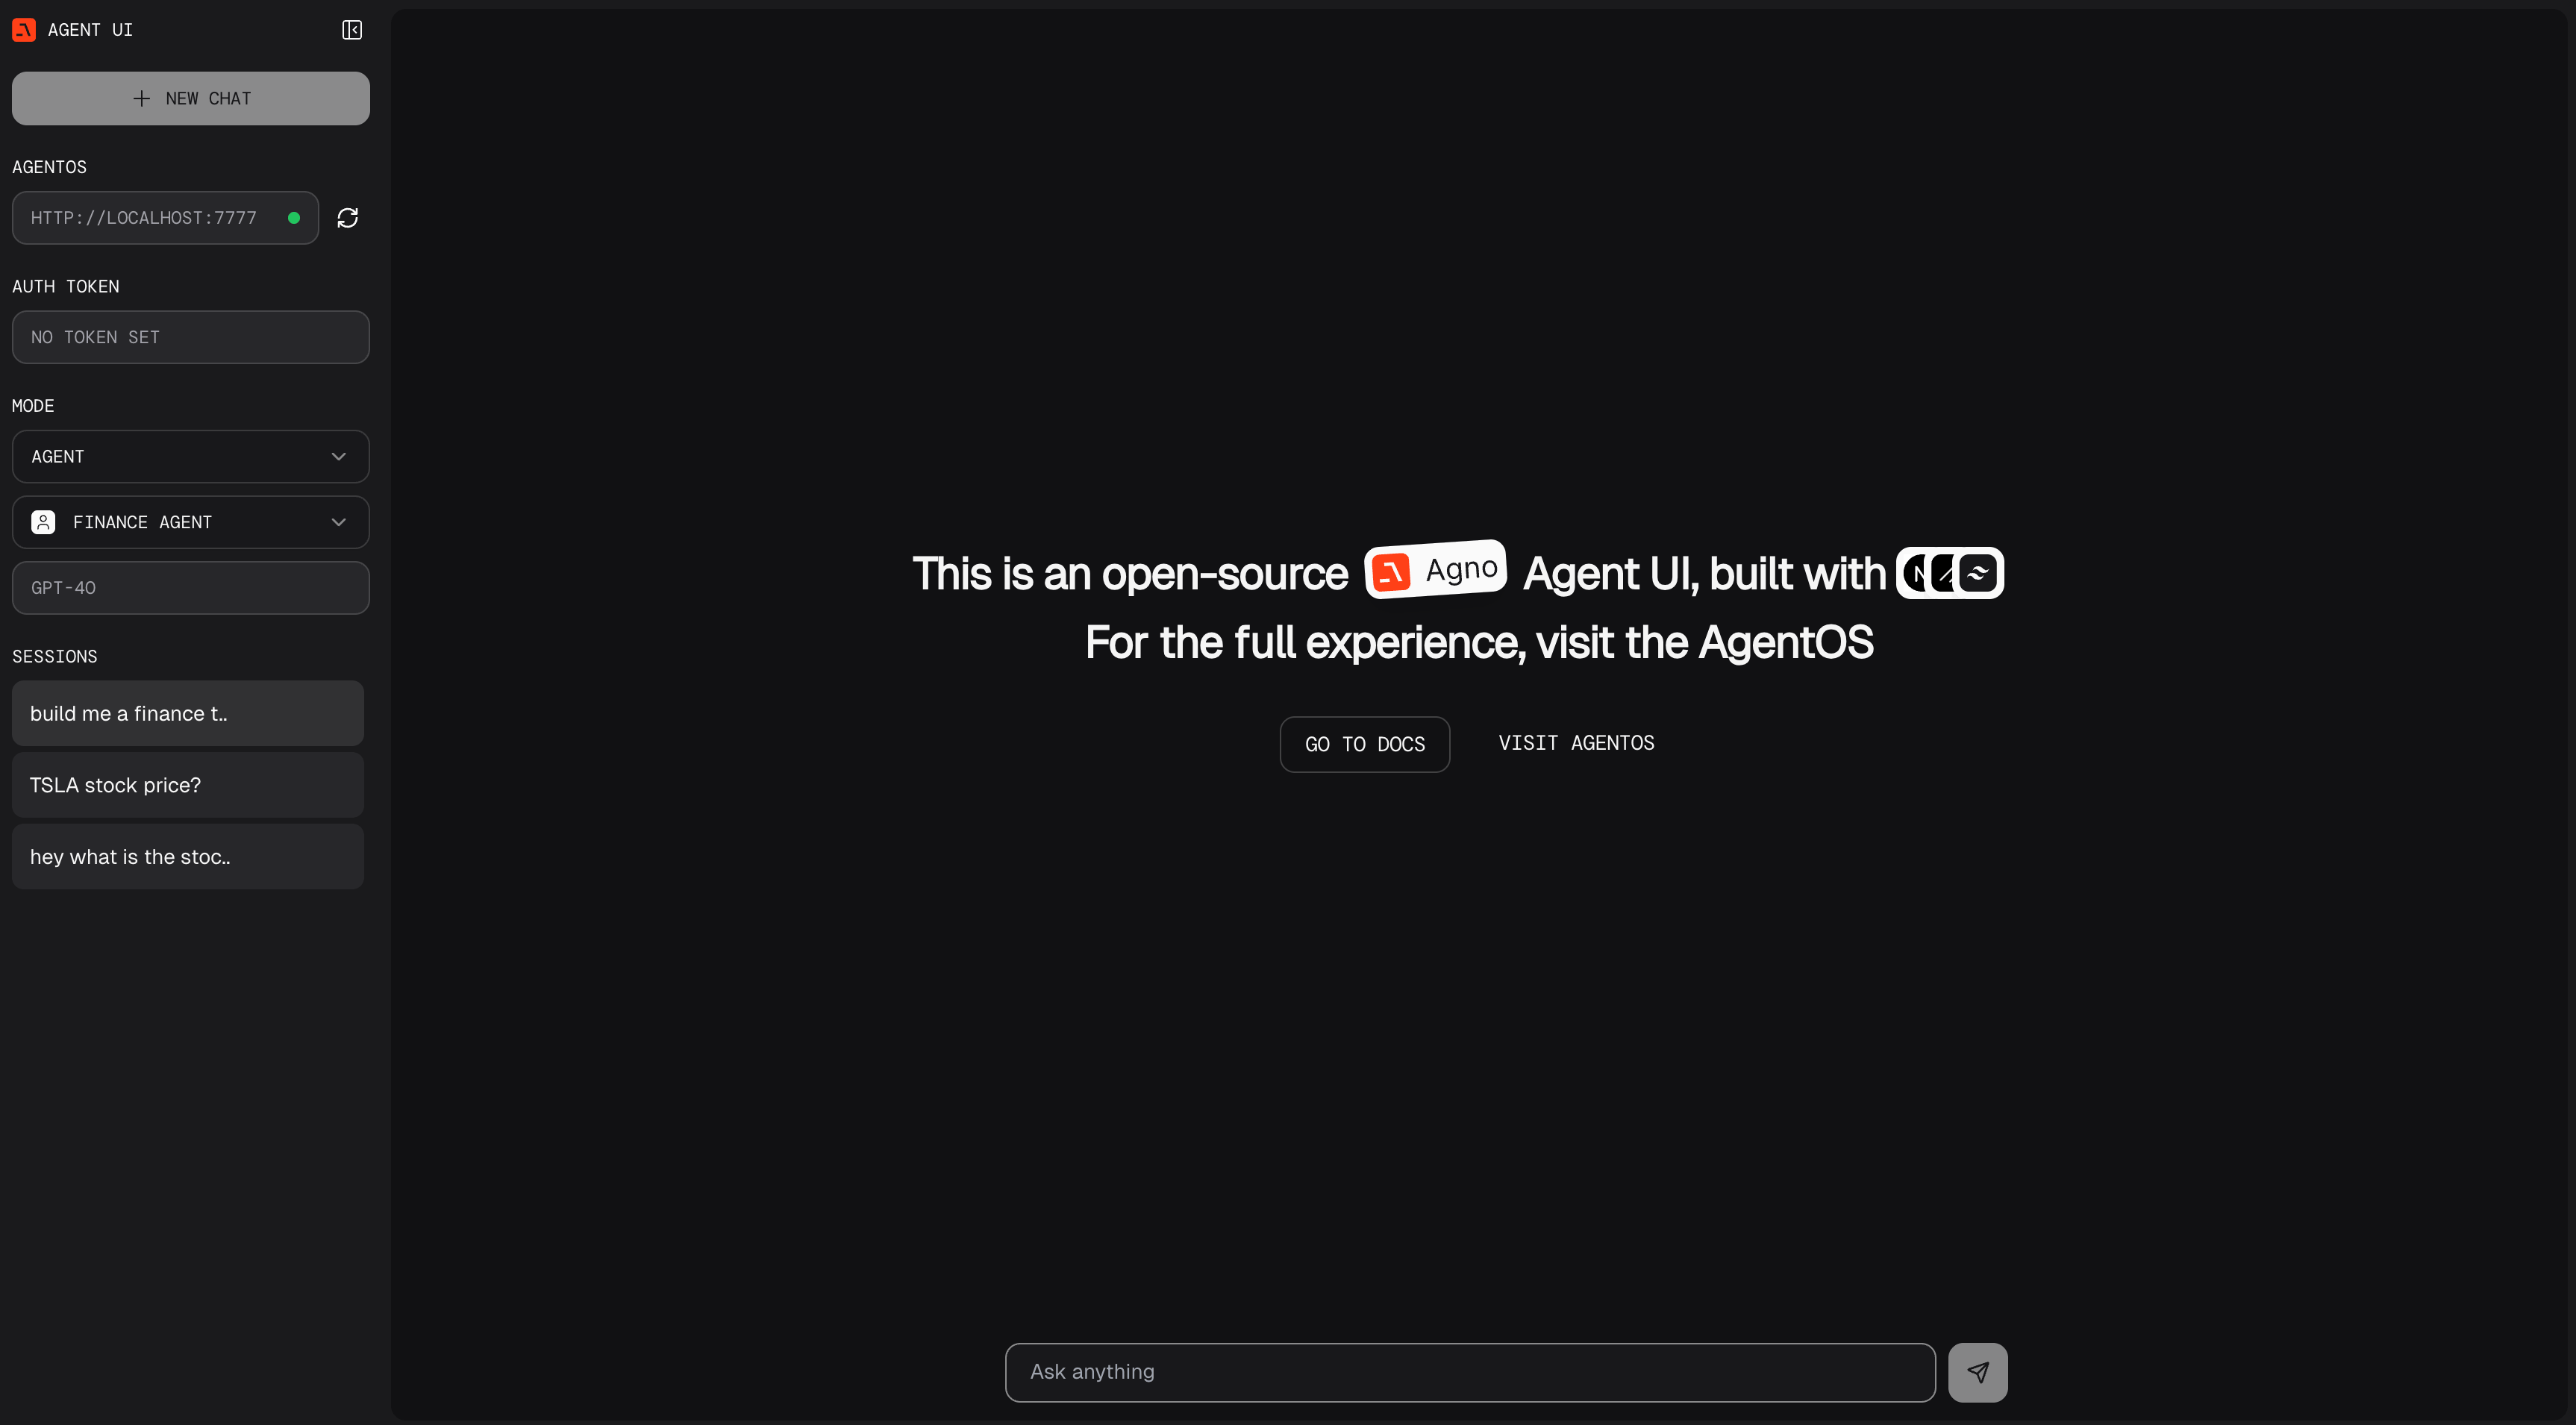
Agno provides a beautiful UI for interacting with your agents, completely open source, free to use and build on top of. It’s a simple interface that allows you to chat with your agents, view their memory, knowledge, and more.
The AgentOS only uses data in your database. No data is sent to Agno.
Built with Next.js and TypeScript, the Open Source Agent UI was developed in response to community requests for a self-hosted alternative following the success of AgentOS.
The Agent UI needs to connect to a AgentOS server, which you can run locally or on any cloud provider.Let’s start with a local AgentOS server. Create a file agentos.py
agentos.py
Copy
Ask AI
from agno.agent import Agentfrom agno.models.openai import OpenAIChatfrom agno.os import AgentOSfrom agno.db.sqlite import SqliteDbfrom agno.tools.duckduckgo import DuckDuckGoToolsfrom agno.tools.yfinance import YFinanceToolsagent_storage: str = "tmp/agents.db"web_agent = Agent( name="Web Agent", model=OpenAIChat(id="gpt-5-mini"), tools=[DuckDuckGoTools()], instructions=["Always include sources"], # Store the agent sessions in a sqlite database db=SqliteDb(db_file=agent_storage), # Adds the current date and time to the context add_datetime_to_context=True, # Adds the history of the conversation to the messages add_history_to_context=True, # Number of history responses to add to the messages num_history_runs=5, # Adds markdown formatting to the messages markdown=True,)finance_agent = Agent( name="Finance Agent", model=OpenAIChat(id="gpt-5-mini"), tools=[YFinanceTools()], instructions=["Always use tables to display data"], db=SqliteDb(db_file=agent_storage), add_datetime_to_context=True, add_history_to_context=True, num_history_runs=5, markdown=True,)agent_os = AgentOS(agents=[web_agent, finance_agent])app = agent_os.get_app()if __name__ == "__main__": agent_os.serve("agentos:app", reload=True)