> ## Documentation Index
> Fetch the complete documentation index at: https://docs.agno.com/llms.txt
> Use this file to discover all available pages before exploring further.
# Deploy to Railway
> Deploy AgentOS to Railway with PostgreSQL, automatic HTTPS, and a public domain.
This template deploys AgentOS and PostgreSQL to Railway. It includes agents you can extend with Claude Code, automatic HTTPS, and a public domain.
## Prerequisites
* [Docker Desktop](https://docker.com/desktop)
* [OpenAI API key](https://platform.openai.com)
## Development
Run locally before deploying to Railway.
```bash theme={null}
git clone \
https://github.com/agno-agi/agentos-railway-template.git \
agentos
cd agentos
```
The template includes the following agents:
| Agent | Pattern | Description |
| :--------- | :--------------- | :------------------------------------------------ |
| WebSearch | Direct tools | Search the web using Parallel SDK or keyless MCP. |
| CodeSearch | Context provider | Answer questions about this codebase. |
```bash theme={null}
cp example.env .env
```
Edit `.env` and add your `OPENAI_API_KEY`.
```bash theme={null}
docker compose up -d --build
```
Navigate to [localhost:8000/docs](http://localhost:8000/docs) to see your AgentOS API.
1. Go to [os.agno.com](https://os.agno.com)
2. Click **Connect OS** → Select **Local**
3. Enter `http://localhost:8000`
Your AgentOS is running locally.
## Production
Deploy to Railway when you're ready to go live.
### Prerequisites
* [Railway account](https://railway.app) (free tier works)
* [Railway CLI](https://docs.railway.com/cli#installing-the-cli)
```bash theme={null}
railway login
```
```bash theme={null}
cp .env .env.production
```
Edit `.env.production` with production values. The deploy scripts read `.env.production` first and fall back to `.env`.
```bash theme={null}
./scripts/railway/up.sh
```
Takes \~2 minutes. The script creates your Railway project, provisions PostgreSQL with pgvector, and deploys AgentOS.
Your first deploy will fail by design. Token-Based Authorization is on by default.
1. Go to [os.agno.com](https://os.agno.com)
2. Click **Connect OS** → Select **Live**
3. Enter your Railway domain
4. Enable **Token Based Authorization**
5. Copy the public key into `.env.production`:
```bash theme={null}
JWT_VERIFICATION_KEY=-----BEGIN PUBLIC KEY-----
MIIBIjANBgkq...
-----END PUBLIC KEY-----
```
Point the scheduler at your Railway domain:
```bash theme={null}
# In .env.production
AGENTOS_URL=https://.up.railway.app
```
Push variables to Railway:
```bash theme={null}
./scripts/railway/env-sync.sh
```
Railway auto-deploys when env values change.
```bash theme={null}
railway logs --service agent-os
```
Navigate to `/docs` to confirm the API is running.
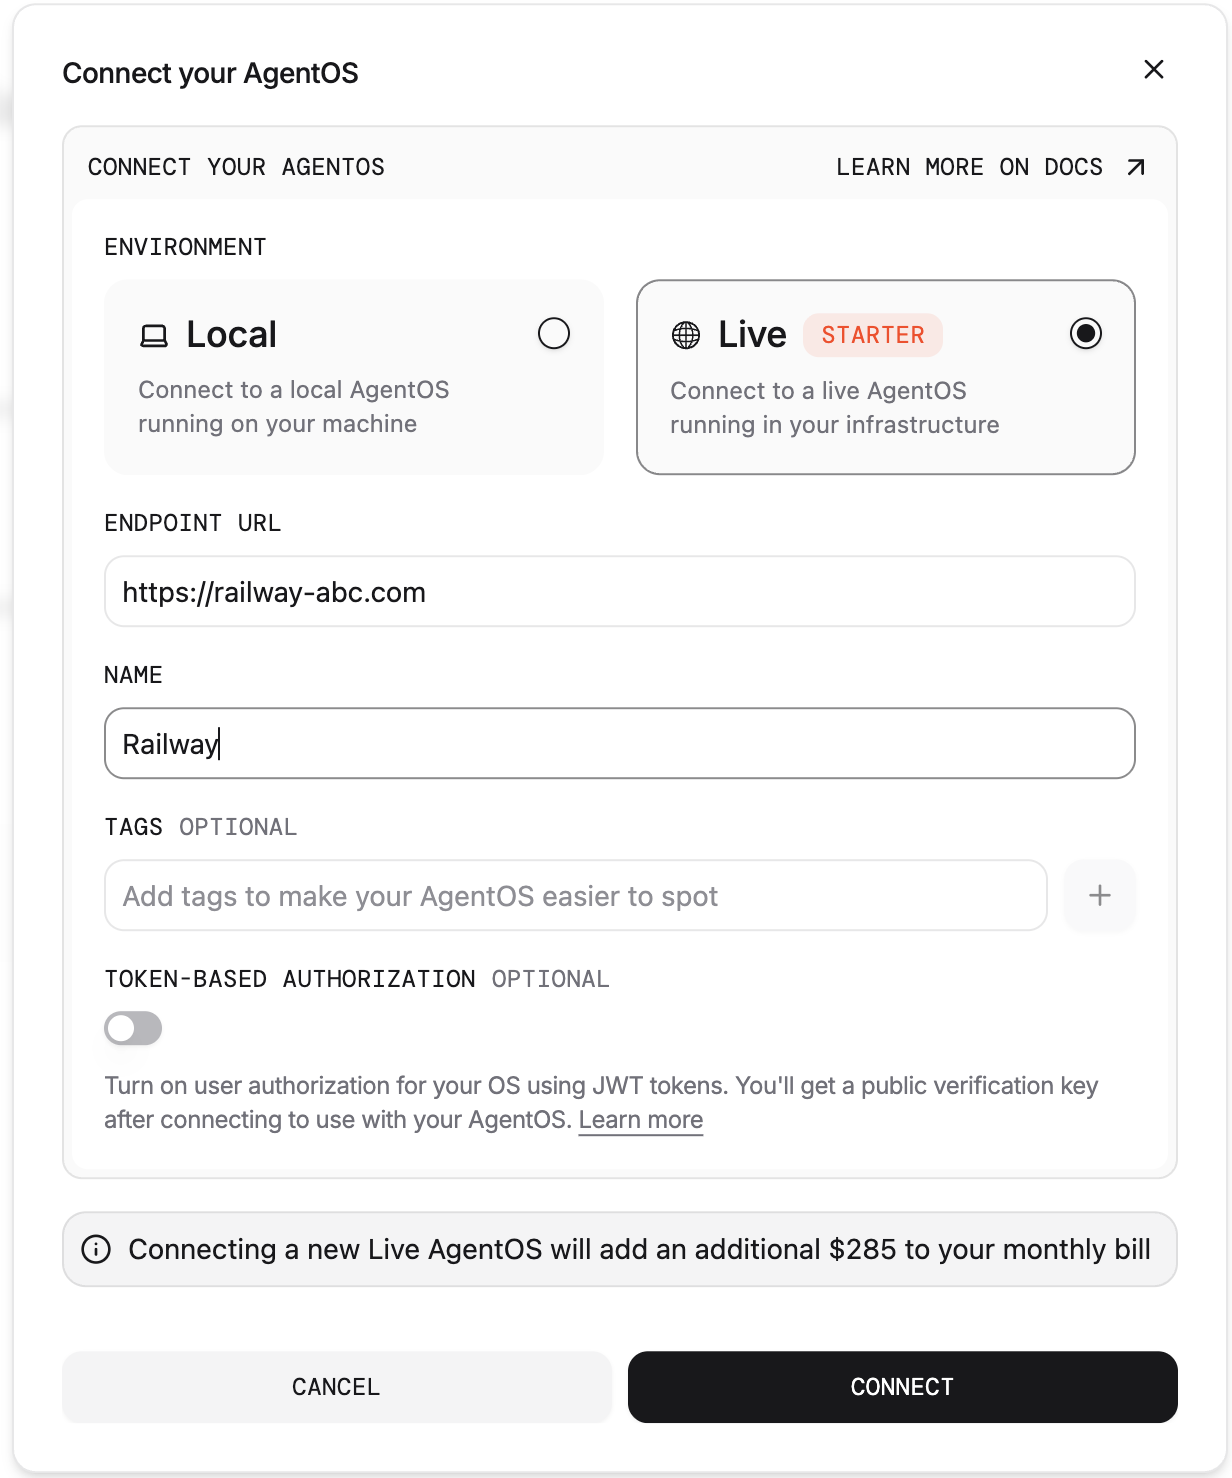
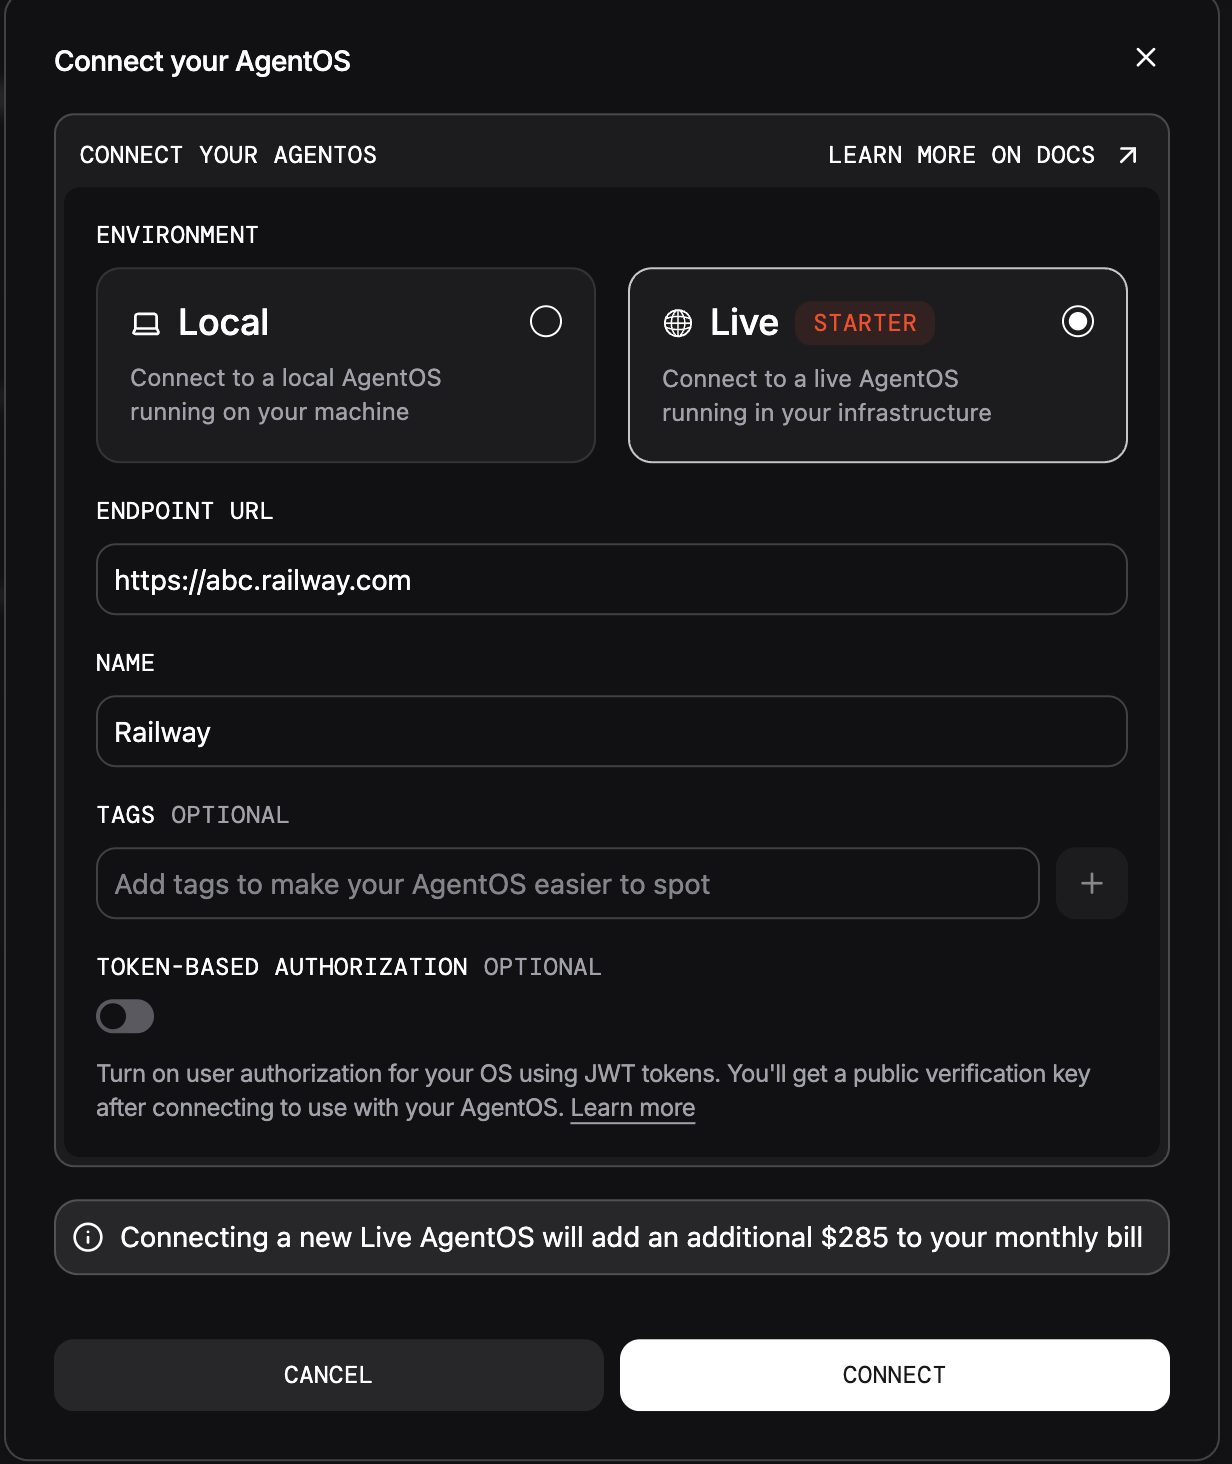 Your AgentOS is live on Railway.
## Environment Variables
| Variable | Required | Description |
| :--------------------- | :--------- | :---------------------------------------------------- |
| `OPENAI_API_KEY` | Yes | OpenAI API key |
| `RUNTIME_ENV` | No | `dev` enables hot-reload and disables JWT |
| `JWT_VERIFICATION_KEY` | Production | Public key from os.agno.com |
| `AGENTOS_URL` | No | Scheduler base URL (default: `http://127.0.0.1:8000`) |
| `SLACK_BOT_TOKEN` | No | Enable Slack interface |
| `SLACK_SIGNING_SECRET` | No | Enable Slack interface |
| `PARALLEL_API_KEY` | No | Parallel SDK key for WebSearch |
## Next Steps
Build and improve agents with Claude Code and evals.
Connect Slack, Discord, WhatsApp, or MCP.
Manage, customize, and troubleshoot.
Your AgentOS is live on Railway.
## Environment Variables
| Variable | Required | Description |
| :--------------------- | :--------- | :---------------------------------------------------- |
| `OPENAI_API_KEY` | Yes | OpenAI API key |
| `RUNTIME_ENV` | No | `dev` enables hot-reload and disables JWT |
| `JWT_VERIFICATION_KEY` | Production | Public key from os.agno.com |
| `AGENTOS_URL` | No | Scheduler base URL (default: `http://127.0.0.1:8000`) |
| `SLACK_BOT_TOKEN` | No | Enable Slack interface |
| `SLACK_SIGNING_SECRET` | No | Enable Slack interface |
| `PARALLEL_API_KEY` | No | Parallel SDK key for WebSearch |
## Next Steps
Build and improve agents with Claude Code and evals.
Connect Slack, Discord, WhatsApp, or MCP.
Manage, customize, and troubleshoot.