> ## Documentation Index
> Fetch the complete documentation index at: https://docs.agno.com/llms.txt
> Use this file to discover all available pages before exploring further.

# AgentOS on self-hosted Docker

> AgentOS template for teams that want to run the same Docker Compose stack locally and on their own infrastructure.

**The [agentos-docker](https://github.com/agno-agi/agentos-docker) template is for teams that want to run the same Docker Compose stack locally and on their own infrastructure.**

It includes:

* **Agent Builder**, which creates agents, teams, and workflows.
* **Platform Manager**, which inspects and explains registered agents, eval history, deployment checks, and schedules.
* **Eight [skills](/deploy/coding-agents)** for setting up, building, testing, reviewing, and deploying the project with a coding agent.

Coding agents can use these skills with the AgentOS API, evals, traces, and container logs to inspect and improve the platform.

Production uses the local Docker Compose configuration plus one override file on a host you control.

## Get started

Copy the prompt below into Claude Code, Cursor, or Codex to configure and run the template with a coding agent.

<Snippet file="setup-prompt-docker.mdx" />

For direct setup, follow the manual steps below.

## Manual setup

**Prerequisites:** [Docker](https://www.docker.com/get-started/) installed and running. An [OpenAI API key](https://platform.openai.com).

<Steps>
  <Step title="Clone and configure">
    ```bash theme={null}
    git clone https://github.com/agno-agi/agentos-docker.git agentos
    cd agentos

    cp example.env .env
    ```

    Edit `.env` and set `OPENAI_API_KEY`.
  </Step>

  <Step title="Start the platform">
    ```bash theme={null}
    docker compose up -d --build
    ```

    The first build takes a few minutes. Confirm the API is available at [localhost:8000/docs](http://localhost:8000/docs).
  </Step>

  <Step title="Verify end to end">
    ```bash theme={null}
    ./scripts/mcp_check.sh
    ```

    Prints `MCP OK` with the tool count and a real agent answer through the MCP endpoint.
  </Step>

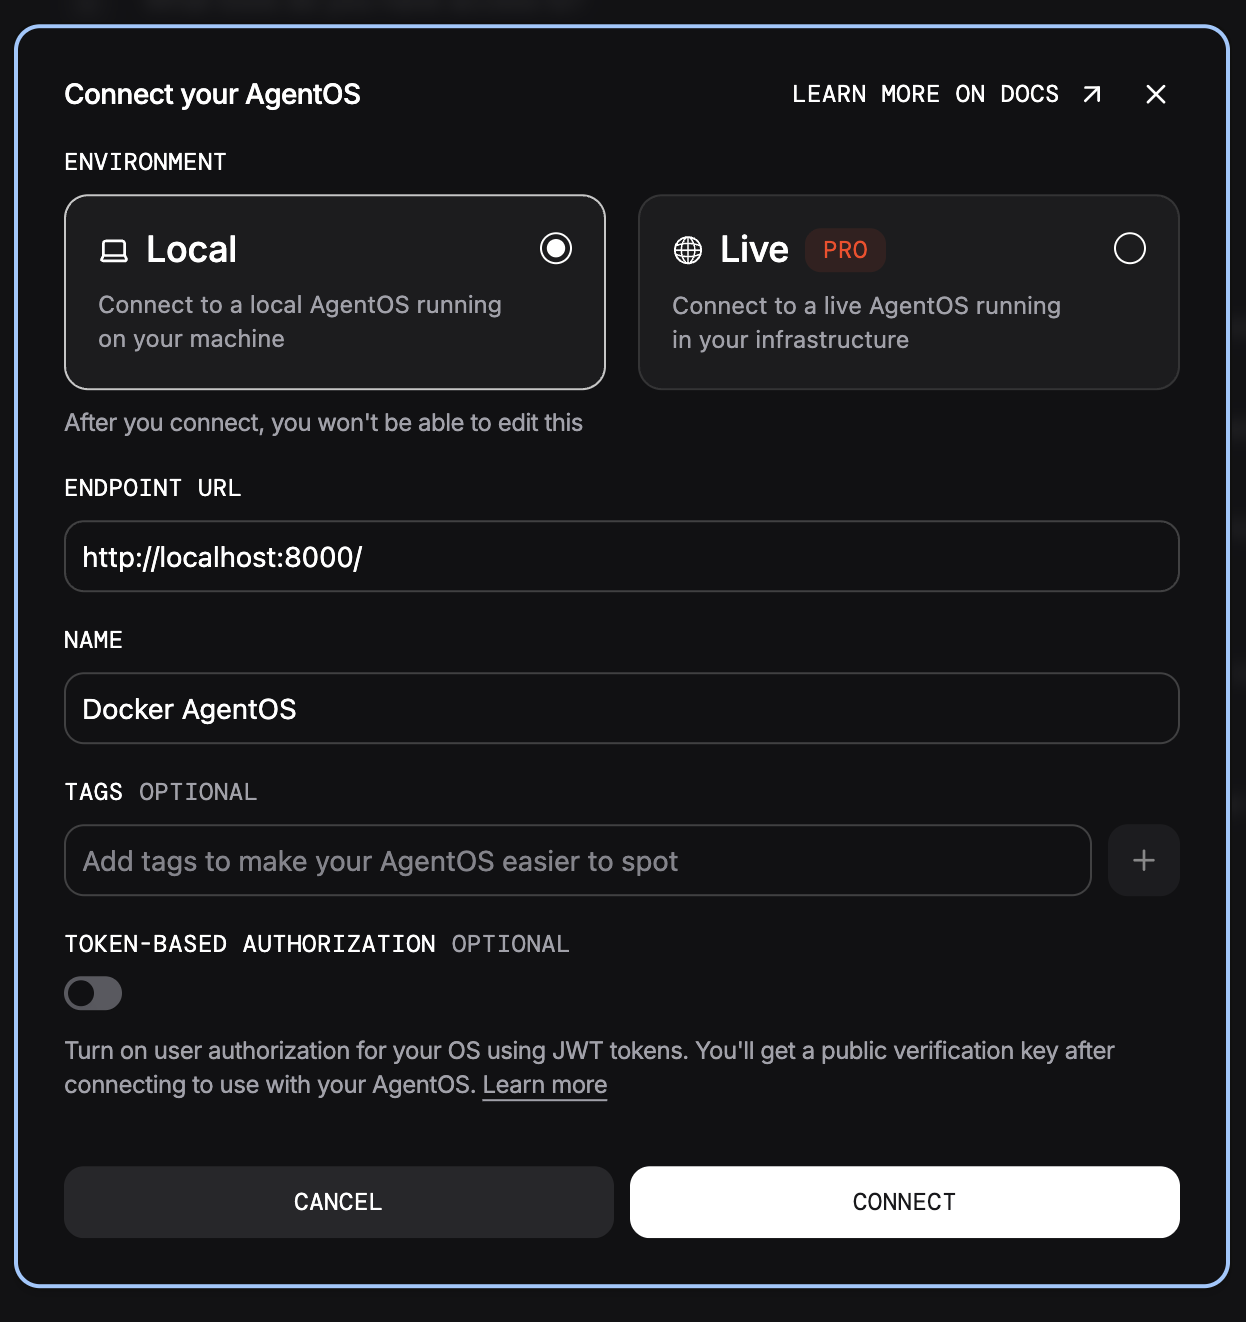
  <Step title="Connect the AgentOS UI">
    1. Open [os.agno.com](https://os.agno.com) and sign in.
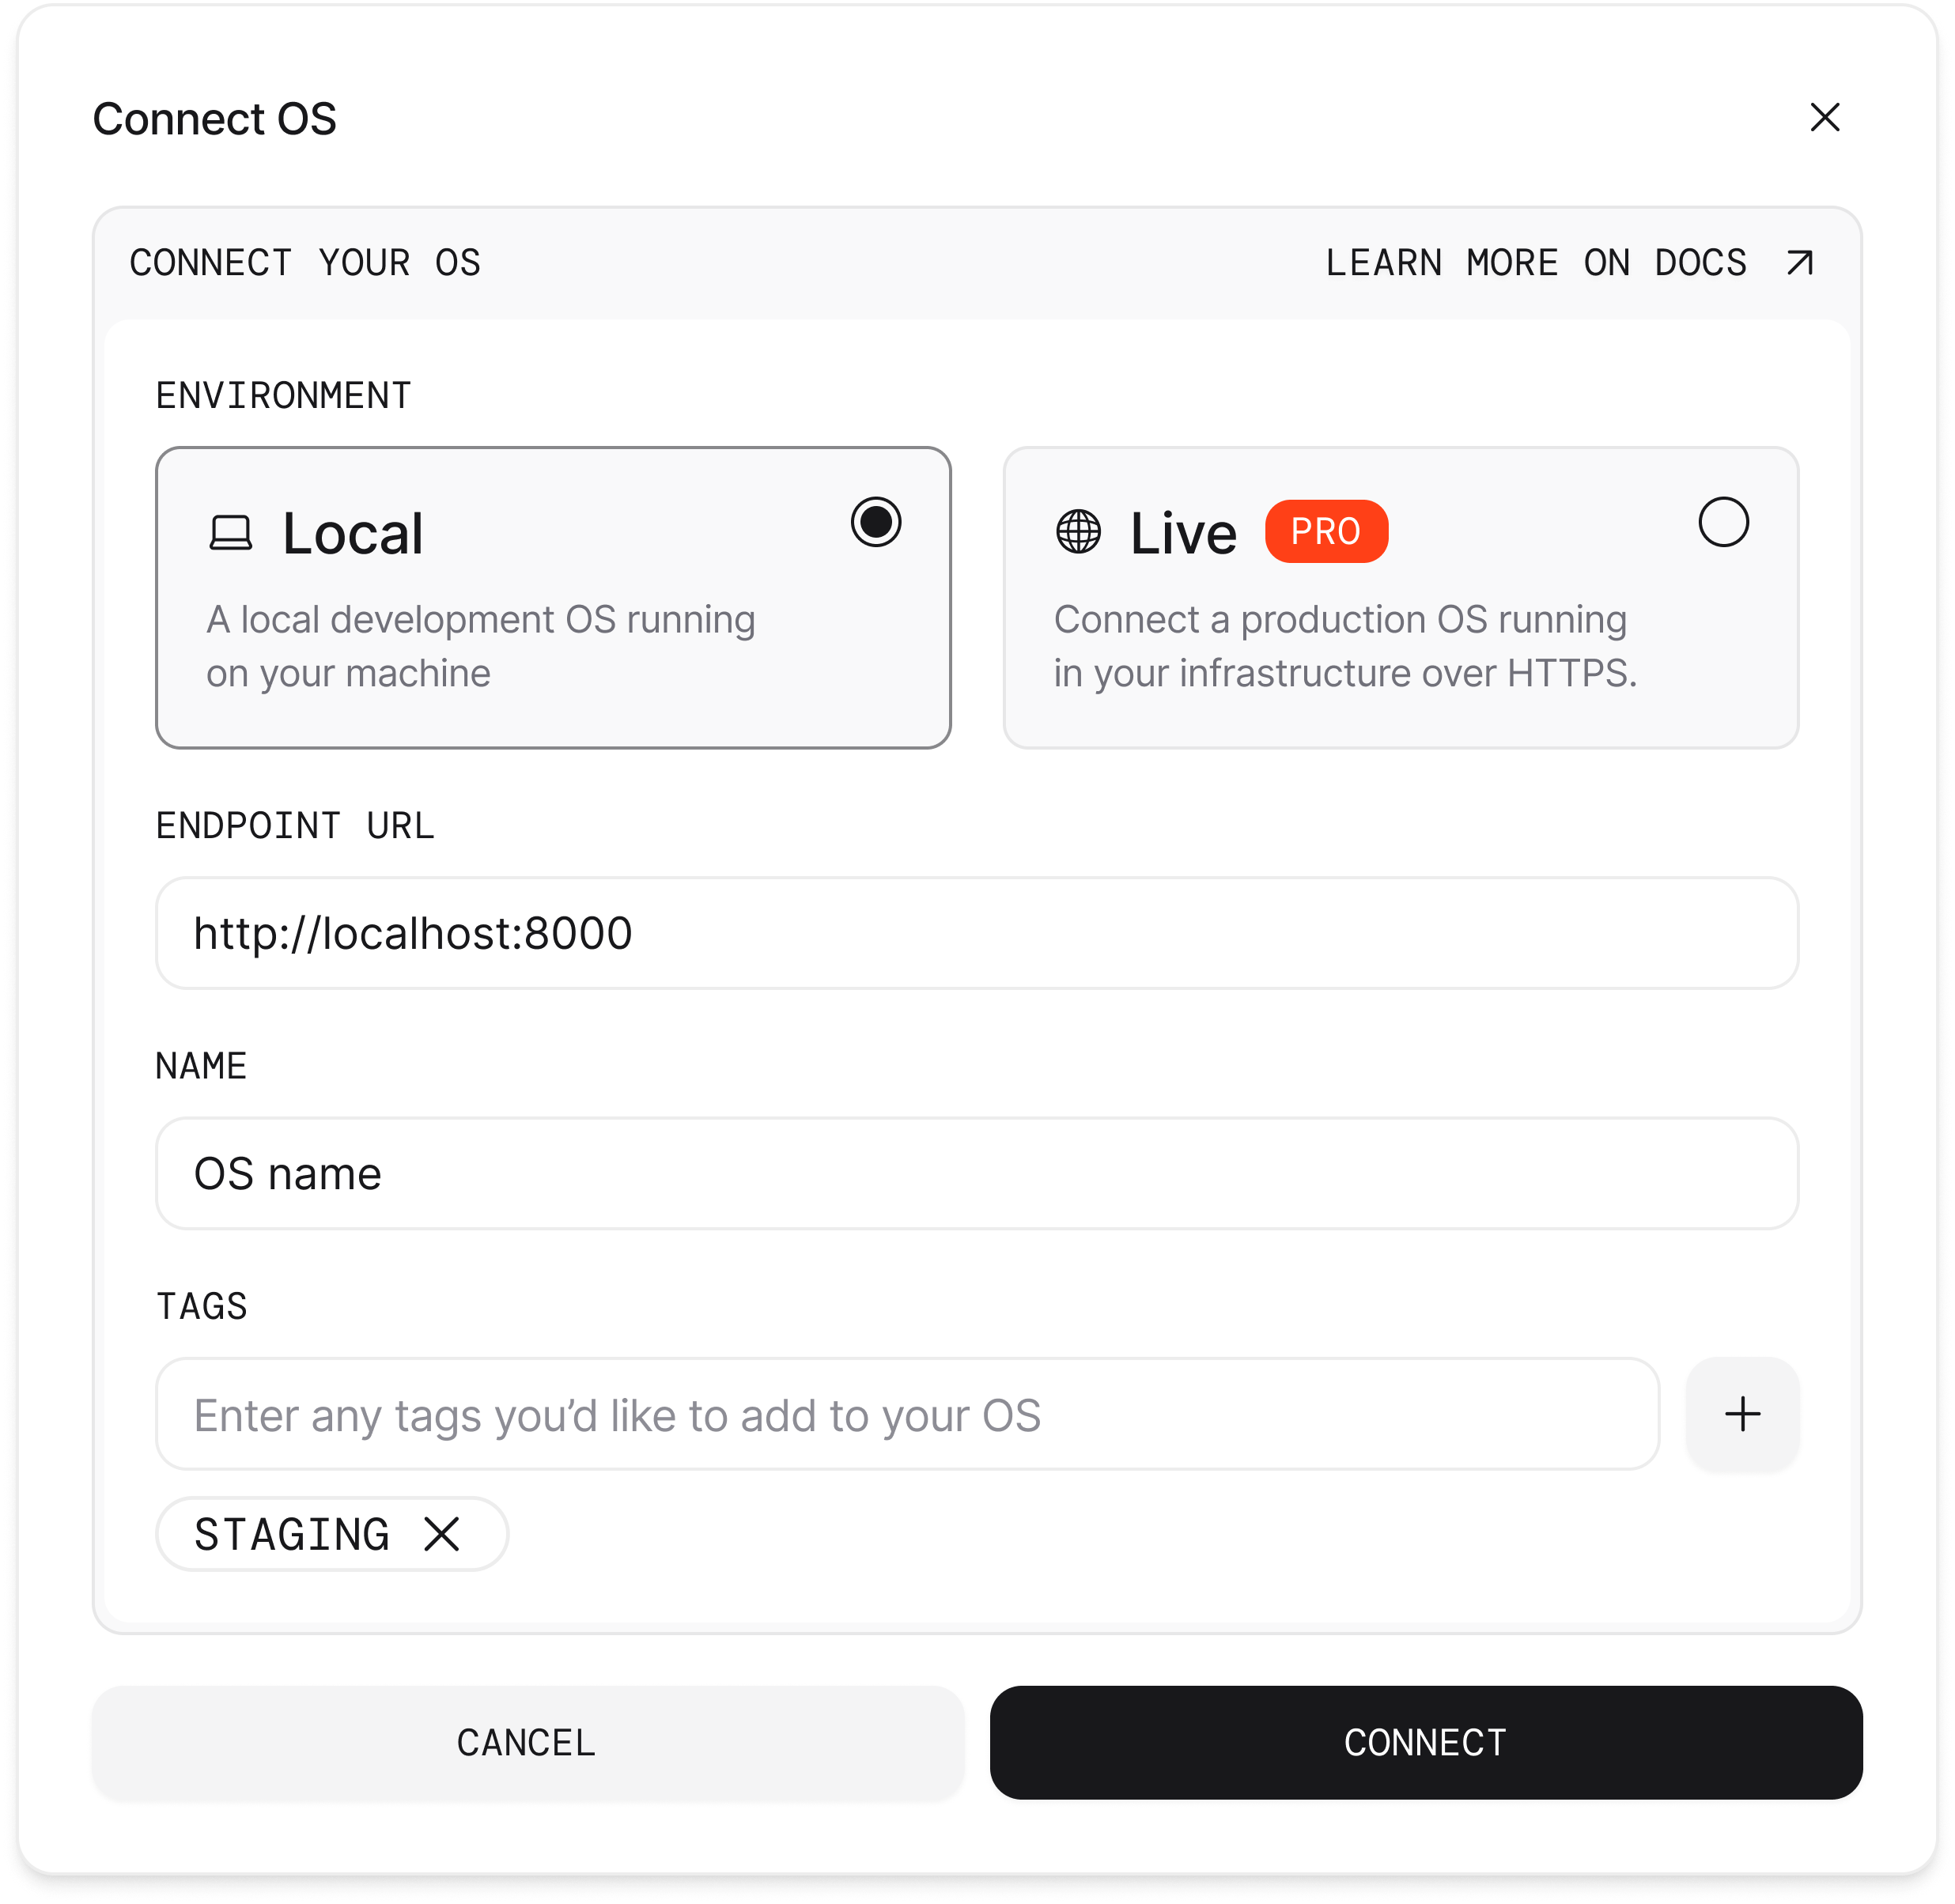
    2. Click **Connect OS**, enter `http://localhost:8000`, and name it **Local AgentOS**.
  </Step>

  <Step title="Build your first agent">
    1. Chat with **Agent Builder**: "Build an agent that tracks AI news and writes a daily brief". Go through the agent development process.
    2. Once created, click **Refresh** on the top right, pick the new agent from the **Agents** dropdown, and ask: "What's new with Anthropic?"
    3. Ask **Platform Manager**: "How healthy is the platform?" It answers from eval history, deployment checks, schedules, and the agent you just built.
  </Step>
</Steps>

<Check>At this point, your AgentOS is running locally.</Check>

## Connect your frontends

| Frontend                    | How                                                                                                                                                                                                          |
| --------------------------- | ------------------------------------------------------------------------------------------------------------------------------------------------------------------------------------------------------------ |
| MCP clients on your machine | `uvx agno connect` auto-detects Claude Code, Claude Desktop, Codex, and Cursor and registers `http://localhost:8000/mcp`. Verify from the app: "can you access my agentos mcp?"                              |
| AgentOS UI                  | [os.agno.com](https://os.agno.com) → **Connect OS** → `http://localhost:8000`.                                                                                                                               |
| claude.ai and ChatGPT       | Hosted sessions can't reach localhost. Run in production first, then add `https://<your-public-url>/mcp` as a custom connector and approve the consent page with the `MCP_CONNECT_SECRET` you set in `.env`. |
| Slack                       | Set `SLACK_BOT_TOKEN` and `SLACK_SIGNING_SECRET`. See [Slack setup](/agent-os/interfaces/slack/setup).                                                                                                       |
| Your product                | Call the AgentOS REST API with 80+ endpoints. Browse them at `/docs`.                                                                                                                                        |

## Run in production

**Prerequisites:** a host with Docker Compose v2.24.4 or newer (the prod override uses the `!reset` and `!override` merge tags), and a way for the internet to reach port 8000 on it: a domain with a reverse proxy, or a tunnel.

<Steps>
  <Step title="Get a public URL">
    The platform needs a public HTTPS URL for two things: hosted chat apps reaching `/mcp`, and `AGENTOS_URL`, the address the platform advertises as its own. Any of these work:

    ```bash theme={null}
    # Cloudflare Tunnel: free; quick tunnels get a random URL, named tunnels a stable one
    cloudflared tunnel --url http://localhost:8000

    # ngrok: reserved domains on paid plans
    ngrok http 8000

    # Tailscale Funnel: stable HTTPS URL on your tailnet's domain
    tailscale funnel 8000
    ```

    For a first run, an ephemeral cloudflared or ngrok URL is fine. For a real deployment, use something stable: a named Cloudflare tunnel, a reserved ngrok domain, or your own domain in front of a reverse proxy (Caddy, nginx) that forwards to port 8000.
  </Step>

  <Step title="Set up your production env">
    Production values live in `.env` on the host, the same file Compose already reads:

    ```bash theme={null}
    OPENAI_API_KEY=sk-...
    AGENTOS_URL=https://<your-public-url>
    MCP_CONNECT_SECRET=<generate with: openssl rand -base64 32>
    DB_PASS=<generate a strong one>
    ```

    `AGENTOS_URL` is the address the platform advertises as its own. Left unset, the daily deployment check flags the platform as misconfigured, and chat-app connectors have nothing to point at. `MCP_CONNECT_SECRET` turns `/mcp` into its own OAuth 2.1 authorization server so claude.ai and ChatGPT on the web can connect; connecting asks for this secret once, on a consent page. It needs `AGENTOS_URL` for a stable public origin, and because dev reads the same `.env`, it gates the local `/mcp` too. PAT and JWT bearers keep working alongside. `DB_PASS` replaces the dev default (`ai`).

    <Note>On a host that already ran the dev Compose, changing `DB_PASS` in `.env` does not change the database password. See [troubleshooting](/deploy/templates/docker/reference#troubleshooting).</Note>
  </Step>

  <Step title="Mint your JWT key">
    Token-Based Authorization is on by default. Production startup requires `JWT_VERIFICATION_KEY` or a readable JWKS file at the container path in `JWT_JWKS_FILE`; otherwise the process exits.

    1. Open [os.agno.com](https://os.agno.com), click **Connect OS** → **Live**, and enter your public URL.
    2. Name it **Live AgentOS**, turn on **Token-Based Authorization (JWT)** on the connection panel, and connect. The UI generates the public key. If the OS is already connected, enable the setting under **Settings** → **OS & Security**.
    3. Copy the public key and paste the full PEM into `.env` with quotes, so Docker Compose reads the multi-line value as one variable:

    ```bash theme={null}
    JWT_VERIFICATION_KEY="-----BEGIN PUBLIC KEY-----
    MIIBIjANBgkq...
    -----END PUBLIC KEY-----"
    ```

    To use JWKS, add a read-only production bind mount and point `JWT_JWKS_FILE` at its container path, or bake the file into the image and rebuild.

    <Note>Live AgentOS connections require a paid plan.</Note>
  </Step>

  <Step title="Start in production mode">
    ```bash theme={null}
    docker compose -f compose.yaml -f compose.prod.yaml up -d --build
    ```

    The override switches `RUNTIME_ENV` to `prd` (JWT auth on), drops the dev bind mount and hot reload so the container runs the code baked into the image, passes your `AGENTOS_URL` (and `MCP_CONNECT_SECRET`, if set) through, and rebinds Postgres to loopback so only this host can reach it. Both services carry `restart: unless-stopped`, so the platform survives reboots as long as Docker starts on boot.
  </Step>

  <Step title="Connect your MCP clients">
    Re-run `uvx agno connect`, this time pointed at your public URL:

    ```bash theme={null}
    uvx agno connect --url https://<your-public-url>
    ```

    For claude.ai and ChatGPT on the web: add `https://<your-public-url>/mcp` as a custom connector in the chat app's connector settings. Leave the form's optional OAuth fields (client ID / client secret) empty. Click **Connect** and, on the consent page, enter the `MCP_CONNECT_SECRET` you set in `.env`.
  </Step>

  <Step title="Confirm it's live">
    ```bash theme={null}
    curl https://<your-public-url>/health   # 200: /health and /docs stay public
    curl https://<your-public-url>/agents   # 401: everything else wants a token
    ```

    Logs, when something looks off:

    ```bash theme={null}
    docker compose -f compose.yaml -f compose.prod.yaml logs -f agentos-api
    ```
  </Step>
</Steps>

<Check>Your AgentOS is live on self-hosted Docker.</Check>

### Redeploy after code changes

```bash theme={null}
git pull   # or edit in place
docker compose -f compose.yaml -f compose.prod.yaml up -d --build
```

### Apply env changes

```bash theme={null}
docker compose -f compose.yaml -f compose.prod.yaml up -d
```

Env changes are the same command without `--build`. Compose recreates the container with the new `.env` values.

### Tear down

```bash theme={null}
docker compose down -v
```

<Warning>
  Removes the containers and deletes the `pgdata` volume with all platform data: sessions, memory, knowledge, and eval history. Run `docker compose down` without `-v` to stop the platform and keep the data.
</Warning>

## Next steps

<CardGroup cols={2}>
  <Card title="Build with coding agents" icon="wand-magic-sparkles" href="/deploy/coding-agents">
    Skills to create → improve → evaluate your platform using coding agents.
  </Card>

  <Card title="Docker reference" icon="book" href="/deploy/templates/docker/reference">
    Commands, environment variables, troubleshooting.
  </Card>
</CardGroup>